

How to Remove Air Bubbles From Screen Protector: Step-by-Step Guide
It’s frustrating but common—you’ve just applied your new screen protector to your phone, only to find air bubbles trapped underneath. Whether they’re tiny pinpricks or large blisters across the screen, these imperfections are more than just an eyesore.
If you’re wondering how to remove air bubbles from a screen protector, the good news is that you may not have to toss it out and start over. With a little patience and the right tools, many bubbles can be eliminated easily and safely. This guide explains why bubbles form, how to prevent them, and—most importantly—how to get rid of them.
Introduction to Screen Protection
Protecting your smartphone screen is more important than ever, with daily use exposing it to scratches, cracks, and accidental drops. That’s why many users turn to a tempered glass screen protector or a glass screen protector for an extra layer of defense. These protectors are designed to absorb impact and keep your glass screen looking flawless.
However, even the best screen protector can sometimes trap air bubbles during installation, creating unsightly spots that can be distracting and reduce touch sensitivity. If you’re struggling with air bubbles under your screen protector, don’t worry—removing them is possible with the right approach. In this article, we’ll show you how to remove air bubbles from a glass screen protector and share expert tips for applying your protector smoothly, so your screen stays clear and protected.
Why Do Bubbles Form Under a Screen Protector?
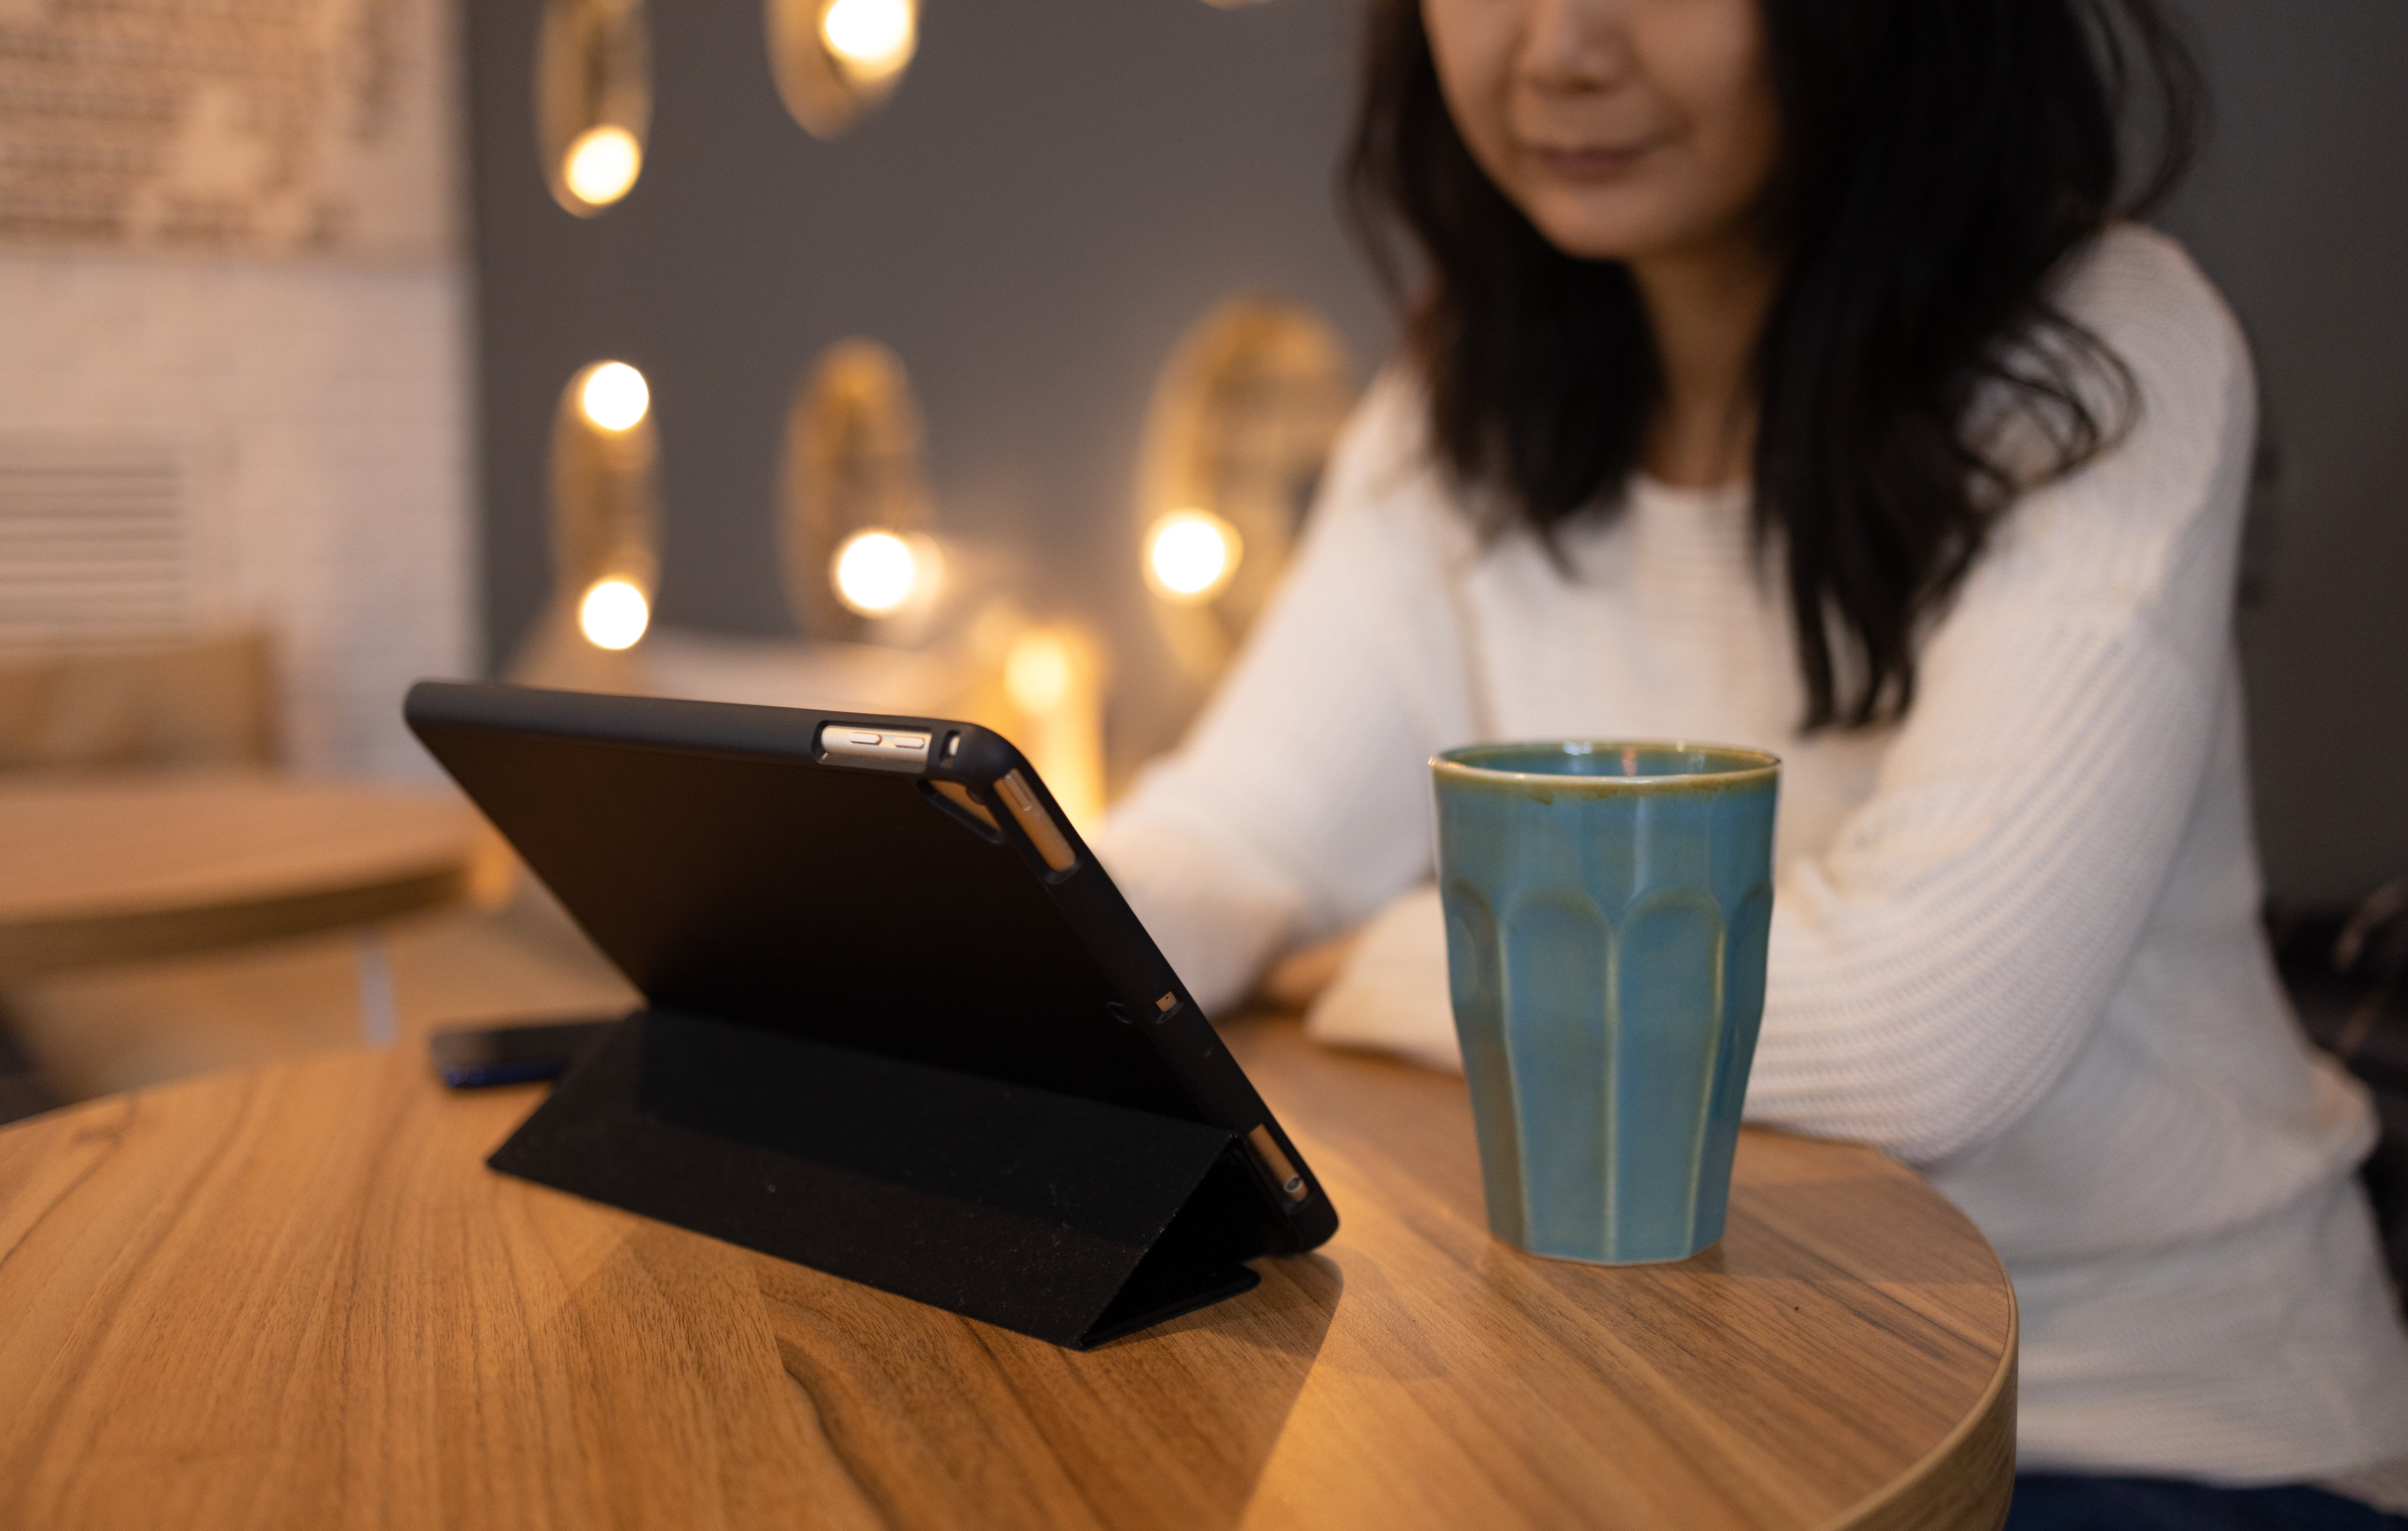
Understanding the cause of screen protector bubbles is the first step in preventing them, as bubbles can occur on all types of screens, not just phones. Below are the most common reasons:
1. Dust or Debris on the Screen
Even microscopic dust particles trapped between your device and the screen protector can cause air pockets. This is the most frequent culprit behind those stubborn, tiny bubbles.
2. Oily Fingerprints
Oil from your hands can interfere with the adhesive on the screen protector, stopping it from fully bonding to the screen.
3. Misalignment
If the screen protector isn’t aligned correctly the first time, make sure to carefully line up the protector with the edges of the screen before repositioning, as moving it can create small air gaps that are hard to remove.
4. Dry Application Without a Guide
Trying to apply a screen protector “by eye” without an alignment tray or tabs increases the chance of trapping air.
5. Reusing a Protector
Once removed, a screen protector’s adhesive may not work the same way again—especially if dust, lint, or skin oils come into contact with it.
6. Screen or Protector Warping
Temperature changes, pressure, or wear over time can cause either the screen protector or the device screen to warp, leading to separation and bubbling. Avoid trying to bend the screen protector during installation or removal, as excessive bending can cause warping and result in bubbles.
Preparing Your Screen for Bubble-Free Application
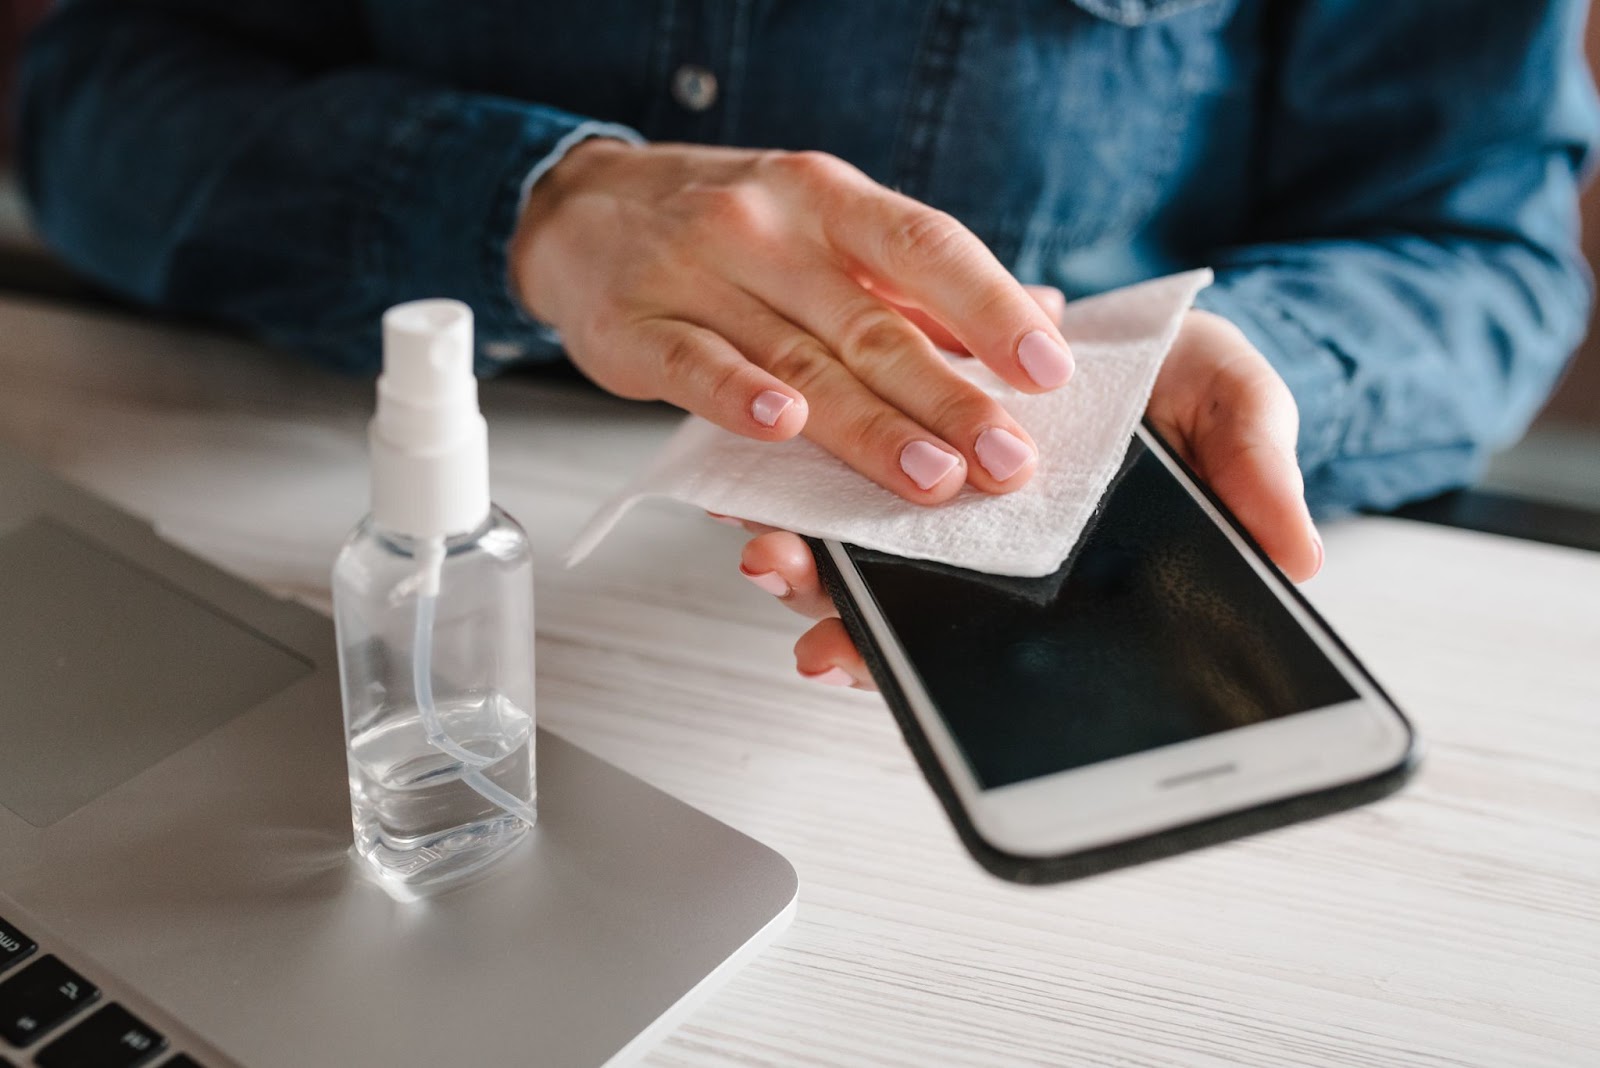
A flawless screen protector application starts with proper preparation. Before you even peel back the sticky side of your protector, make sure your screen is spotless. Begin by wiping the screen with a lint-free microfiber cloth dampened with a bit of rubbing alcohol—this step removes stubborn oil, dirt, and fingerprints that can cause air bubbles to form.
Next, inspect the surface for any lingering dust particles. Use the sticky side of a piece of scotch tape to gently lift away any remaining specks, especially around the edges and corners where dust loves to hide. For best results, work in a dust-free environment; a bathroom after a hot shower is ideal, as the steam helps settle airborne lint and dust, reducing the risk of trapped air.
Finish by using a screen wipe for a final clean, then dry the screen thoroughly with a dry microfiber cloth. Taking these extra steps ensures your screen is perfectly clean and ready for a bubble-free protector application.
How to Remove Bubbles From Screen Protector: 6 Proven Tips
Whether you’ve just applied a new screen protector or one has started bubbling months later, try these methods to remove air bubbles effectively.
Tip #1: Start With a Dust-Free Setup
Before applying or reapplying a screen protector, wash your hands thoroughly and work in a clean, dust-free environment—like a steamy bathroom after a hot shower. Use a microfiber cloth and alcohol wipe to clean the screen. Let it dry completely before you begin.
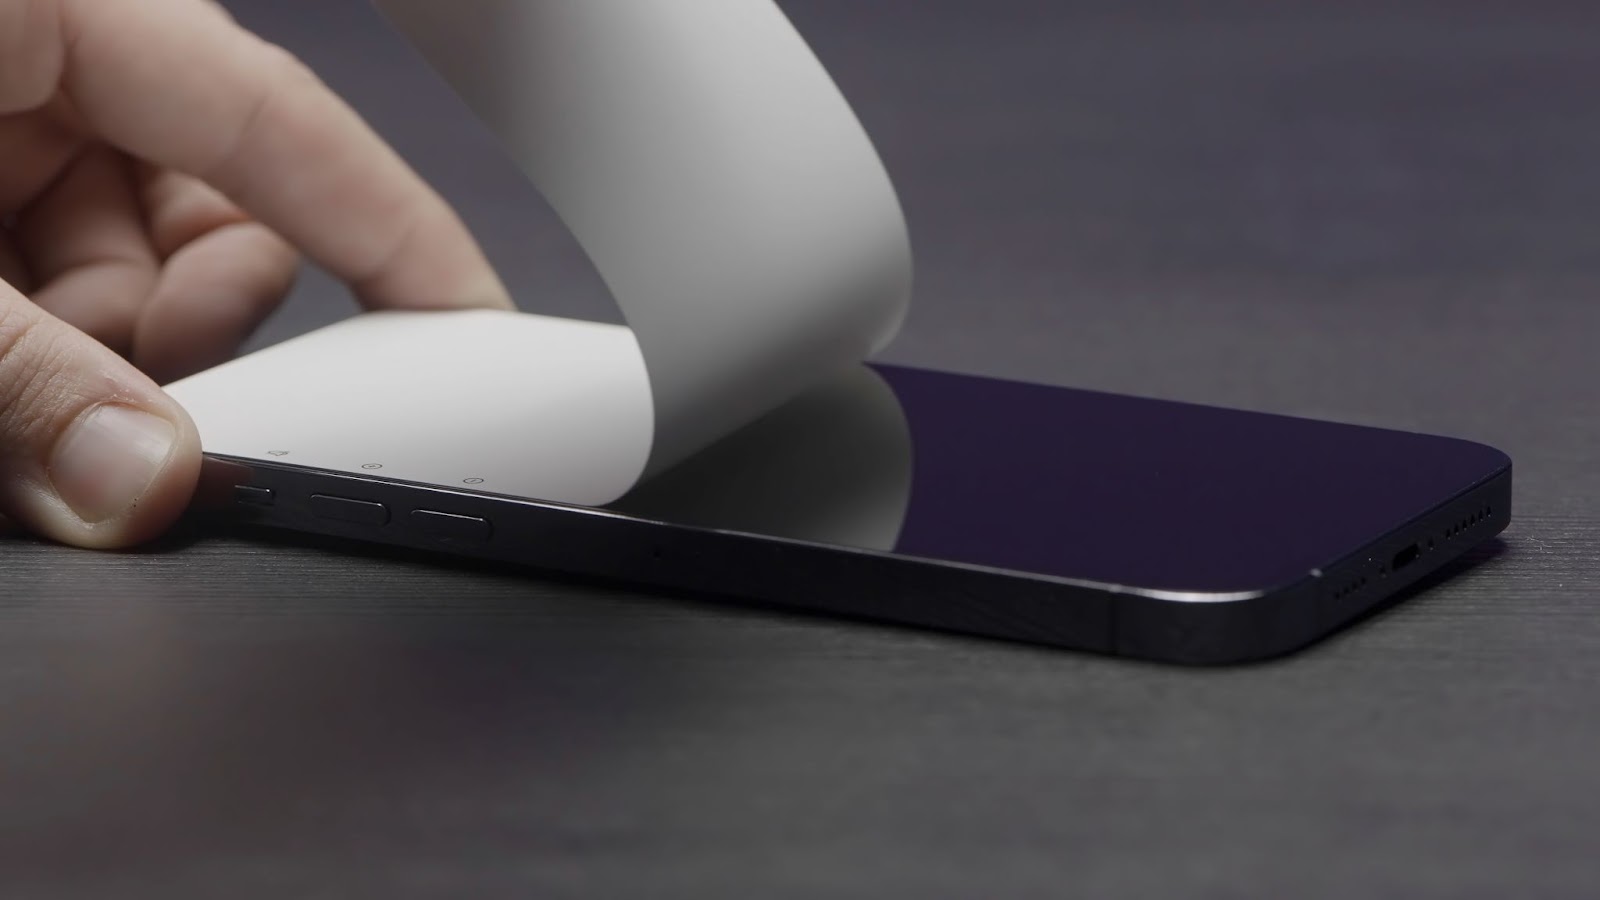
Tip #2: Align Before You Drop
Hold the screen protector over your device and align it with buttons, speakers, and camera cutouts. Once aligned, gently place it down from one side to the other, pressing out air as you go. For best results, start pressing from the middle of the screen and work outward to push out any air bubbles.
Tip #3: Use a Plastic Card to Push Out Bubbles
If you see bubbles right after installation, use a plastic card—like a credit card or gift card—wrapped in a microfiber cloth. Start from the center and gently push the bubbles toward the edges in a slow, controlled motion. Squeeze the protector gently along the edges to help remove any stubborn bubbles.
Tip #4: Lift the Edge (Gently!)
For bubbles near the edge that won’t move, slowly lift one edge of the protector using a thin plastic tool (never your fingernail). Gently slip the tool under one edge to create a small gap for the bubble to escape. Reapply slowly, smoothing the bubble out as you go. Avoid touching the adhesive side to prevent oil transfer.
Tip #5: Use Tape to Remove Dust
If the bubble is caused by a visible speck of dust, lift the screen protector and use a small piece of Scotch tape to dab the screen and remove the debris. Then reseal the protector carefully.
Tip #6: Let Time Do Its Work
Some small bubbles may disappear on their own within 24–48 hours as the adhesive settles. If the bubbles are minor and not obstructing your view, wait a couple of days before removing or replacing the screen protector.
Advanced Bubble Removal: Using Adhesive Removers on Glass Screen
Sometimes, even after careful application, stubborn air bubbles refuse to budge from under your screen protector. For these persistent bubbles, a more advanced approach may be needed.
Start by carefully lifting one corner of the screen protector using a thin object with a sharp edge, such as the edge of a credit card or a plastic tool—avoid using your fingernails to prevent damage. Once you’ve gently lifted the protector, apply a small amount of adhesive remover to the area with the air bubble. Use a soft, lint-free cloth to gently rub the adhesive remover into the affected spot, being careful not to let the liquid seep under the rest of the protector.
With a flat object, slowly push the air bubble toward the nearest edge, applying steady but gentle pressure. If the bubble is especially stubborn, a tiny bit of oil can help loosen the adhesive just enough to allow the bubble to slide out. Once the air bubble is removed, wipe away any excess adhesive remover and oil with a clean, lint-free cloth. This method can help restore a smooth, clear finish to your glass screen protector without the need for a full replacement.
When It’s Time for a Replacement
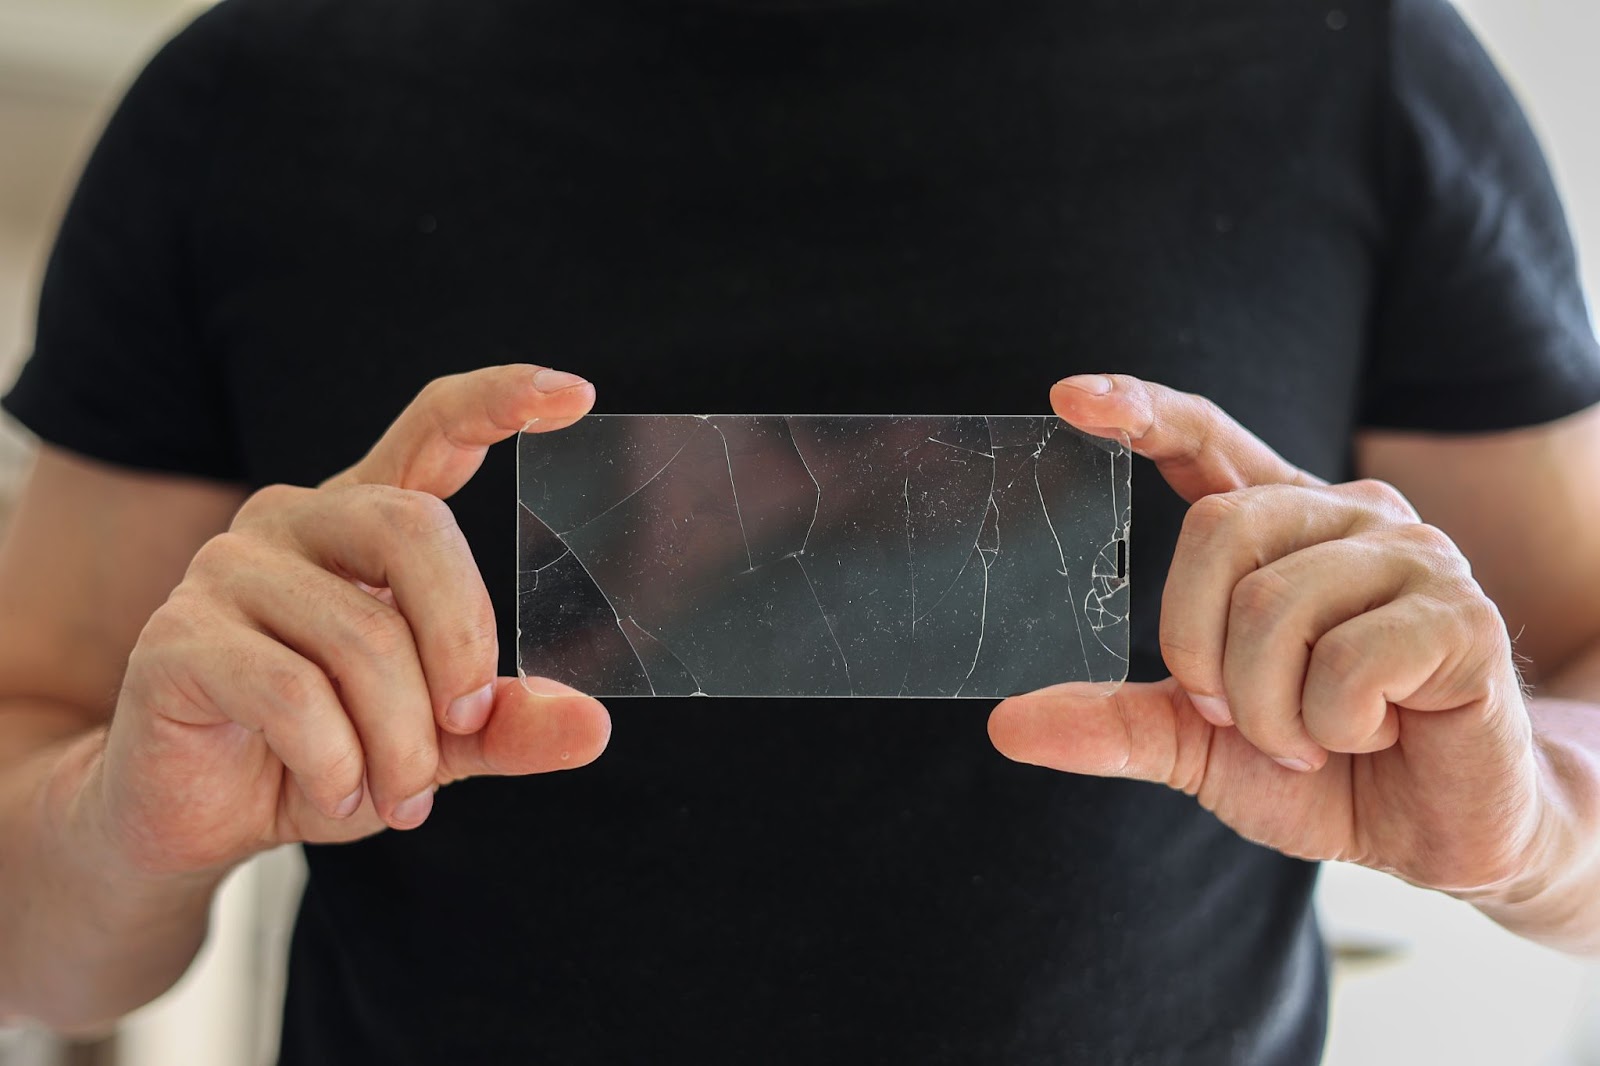
Despite your best efforts, sometimes screen protectors can’t be salvaged. If:
-
A bubble is directly in the center of the screen and won’t move
-
Dust or pet hair is permanently trapped under the glass
-
The adhesive has worn out or the protector cracked during removal (be careful not to break the protector when attempting to remove it)
…it’s time to replace it.
But don’t just buy the first screen protector you find—choose one that’s built to prevent these issues in the first place.
Why Choose Sahara Screen Protectors?
At Sahara, our screen protectors are designed by device repair professionals who understand what protects your device—and what doesn’t. Every screen protector in our collection is engineered for bubble-free installation, clarity, and maximum scratch resistance.
-
ZeroDamage™ Technology: Our tempered glass and privacy screen protectors are ultra-strong, resisting scratches, drops, and scuffs.
-
Anti-Bubble Adhesive: Designed to reduce the chances of trapped air during application.
-
Easy Application Kit: Each protector comes with an alcohol wipe, microfiber cloth, dust sticker, and installation guide to walk you through a perfect application—every time.
-
Options for Every Device: From iPhones and Androids to Galaxy Tab S10 and iPads, we’ve got your screen covered.
If you prefer in-person service, you can also visit an Apple Store for professional screen protector installation.
FAQs: How to Remove Bubbles from Screen Protectors
Can you remove bubbles without taking off the screen protector?
Yes, in most cases. Use a card or tape method to press the bubble toward the edge. If it’s caused by dust, you may need to lift the edge slightly and clean it out first.
Is it normal for bubbles to form days after installation?
Bubbles forming later are usually due to adhesive wear or pressure on the screen. This could mean it's time to replace the protector.
Are liquid screen protectors less prone to bubbles?
Liquid screen protectors don’t typically cause air bubbles, but they offer less drop protection than tempered glass options.
Can I reuse a screen protector after removing it?
Not recommended. The adhesive weakens, and even a tiny bit of dust or oil will prevent a proper seal, causing more bubbles.
Final Thoughts
Learning how to remove air bubbles from screen protectors doesn’t have to be a frustrating experience. With a little prep, the right tools, and the quality of Sahara products, your device screen can look smooth, sharp, and bubble-free.
And when it’s time to replace your screen protector, trust Sahara for a flawless fit, long-lasting durability, and stress-free installation. Because protecting your device should be easy—and bubble-free.